Upon logging into their account, users are landed on the following screen, which is also referred to as a startup screen.
.png?width=670&height=362&name=Login%20layout%20screen%20(1).png)
On the startup screen, users will see the application's logo or a welcome message, depending on the configurations set by the administrator.
On the left-side panel, you will find the Upload Logo option at the top. This feature allows you to easily upload your organization's logo. Learn how to Upload a Logo at the given link.
.png?width=95&height=592&name=upload%20logo%20(2).png)
Below Logo is Manage Your Account on the left panel, which includes various shortcuts for user convenience. This section also provides an option for users to log out of the application.
Besides the User Module, the Notifications section is located, where a user can view all the Notifications and Announcements.
The Dashboard follows, serving as a graphical representation of all activities within the account. Selecting the Dashboard option allows users to easily monitor and analyze their account's performance.
.png?width=114&height=173&name=dashboard%20(1).png)
Below the Dashboard is Tracking on the left panel. Tracking refers to the live tracking screen, which provides users with real-time visibility into the activities of their fleets, allowing for effective monitoring and management.
![]()
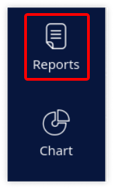
Following the Tracking section on the left panel, you will find Reports. This feature provides a comprehensive textual representation of all the data collected from your devices, allowing for detailed analysis and insights.
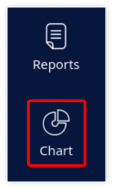
Next is Chart, which lies below Reports on the left panel. Charts are a graphical representation of the reports.
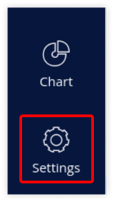
Following the chart is the Settings option on the login panel. This module acts as the configuration hub, allowing users to efficiently adjust preferences and manage settings to customize the application.
At the bottom of the left side panel, you will find the Cloud Download option, located just below the Settings option. This valuable feature allows users to easily submit multiple reports for simultaneous downloading, enhancing the efficiency of data access and management.
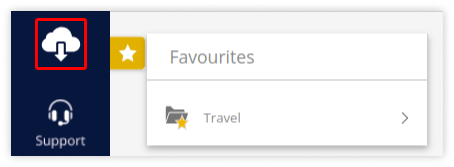
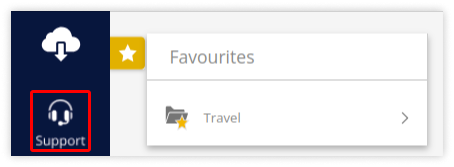
Following the Cloud Download option, you will find the Support feature, which provides users with the ability to Rraise Tickets directly from the platform and access the ChatBot for assistance.