
The platform provides a seamless approach to inventory management, allowing users to add, sell, and track devices effortlessly. It allows users to maintain a comprehensive device database, manage reseller sales, and ensure accurate stock levels and device details. Key features include:
- Bulk Uploads: Quickly add multiple devices at once.
- Sales Tracking: Gain clear insights into all sales and reseller transactions.
These capabilities help streamline operations, maintain organized inventory, and generate precise reports. The Sign-Up Option in the mobile application, specifically designed for inventory accounts, offers valuable advantages for creating both objects and users.
The structure of the inventory account differs from that of the general account. In this system, the hierarchy is organized as follows: Admin, Reseller, Reseller Subuser, and then Company.
Before exploring the inventory module further, it is essential to verify whether resellers and reseller subusers have been created in the system. To learn how to create a Reseller or Reseller Subuser, please click on the provided link.
To Get Started
-
Log in to the admin account.
-
Go to Settings > Master > Inventory.
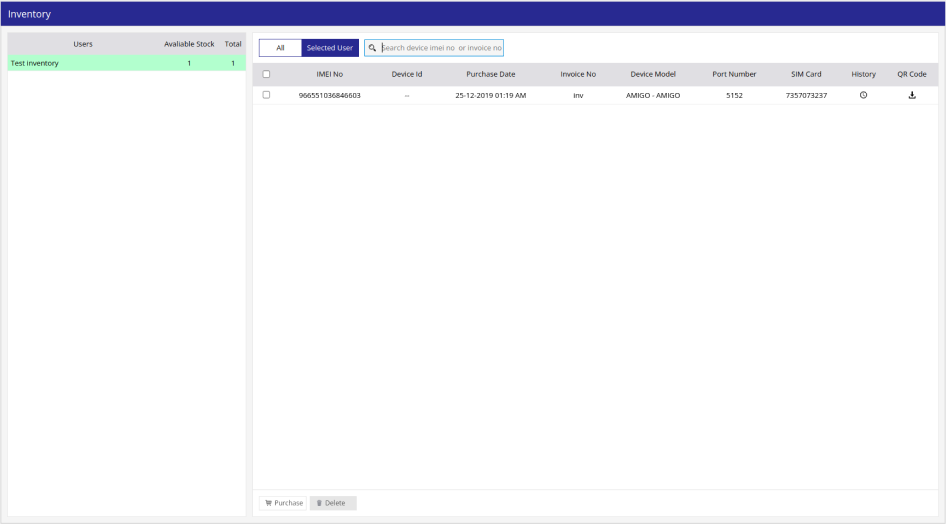
Upon clicking on Inventory, you will be directed to the Inventory Overview page, where you can have a look at all your device records.
To Add inventory
Initially, the devices will be added to the Admin account.
-
Click on the Purchase button on the taskbar.
-
Enter Invoice No. and Invoice Date of your purchase order.
-
Enter Amount Per Device, Total Tax, and Total Amount as per your purchase order.
-
Enter the Device Model that you have purchased.
-
Download the Demo file, clicking on Download and fill in the necessary details.
-
Upload the file with the Choose File option.
-
Click on the Save 💾 button to add the inventory.
-
