
The platform provides a seamless approach to inventory management, allowing users to add, sell, and track devices effortlessly. It allows users to maintain a comprehensive device database, manage reseller sales, and ensure accurate stock levels and device details. Key features include:
- Bulk Uploads: Quickly add multiple devices at once.
- Sales Tracking: Gain clear insights into all sales and reseller transactions.
These capabilities help streamline operations, maintain organized inventory, and generate precise reports. The Sign-Up Operation in the mobile application, specifically designed for inventory accounts, offers valuable advantages for creating both Vehicle and Consumer.
The structure of the inventory account hierarchy is as follows: Admin, Reseller, Reseller Subuser, and then Consumer.
To Get Started
-
Log in to the admin account.
-
Go to Settings > Master > Inventory.
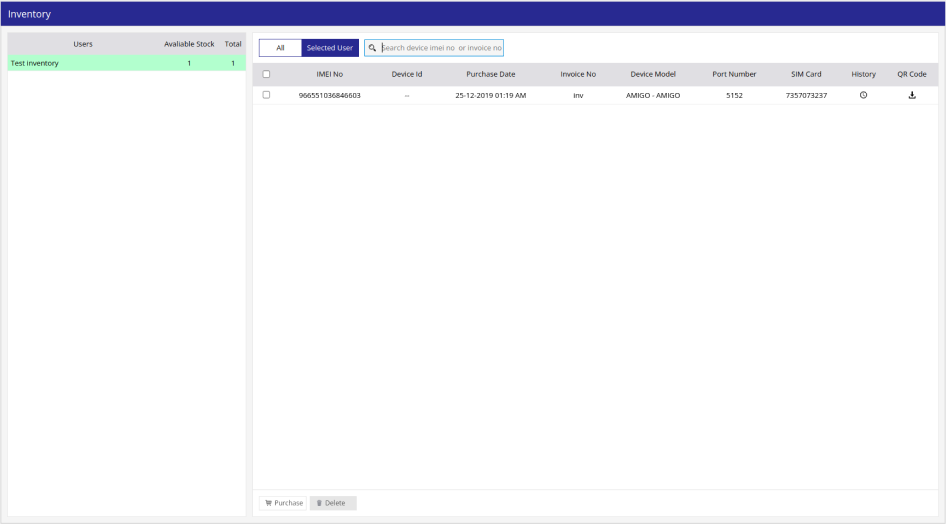
Upon clicking on Inventory, you will be directed to the Inventory Overview page, where you can have a look at all your device records.
To Add inventory
Initially, the devices will be added to the Admin account.
-
Click on the Purchase button on the taskbar.
-
Enter Invoice No. and Invoice Date of your purchase order.
-
Enter Amount Per Device, Total Tax, and Total Amount as per your purchase order.
-
Enter the Device Model that you have purchased.
-
Download the Demo file, clicking on Download and fill in the necessary details.
-
Upload the file with the Choose File option.
-
Click on the Save 💾 button to add the inventory.
-
