The Live Tracking in driver application consists of options to inspect the vehicle, add expense, navigate, Find Nearby vehicles, and add accident details. These can be used by the driver from the application by following the steps mentioned below.
To get started
- Login to your driver application.
- Click on the Live Tracking .
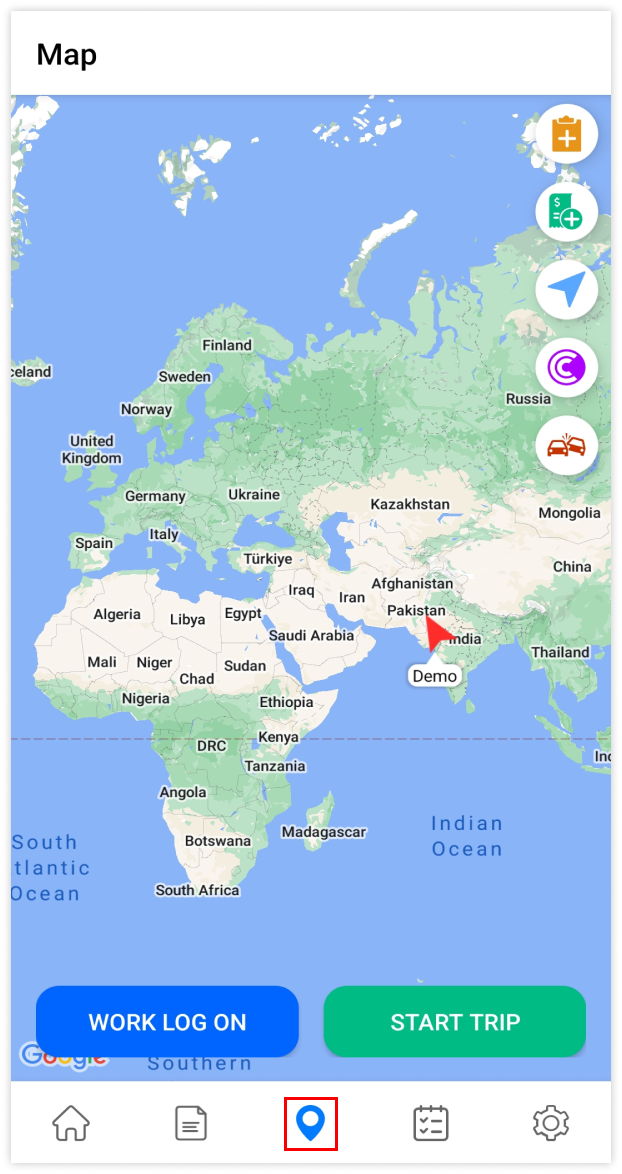
To Use Work Log On :
- Click on Work Log On.
- The application will find your current location and will enable your work log as ON.
- To end the work log, click on Work Log Off.
To Start Trip:
- Click on Start Trip.
- You'd be able to search the reports from here.
Check In is must for starting the trip, so go to the home screen and click on Check In.
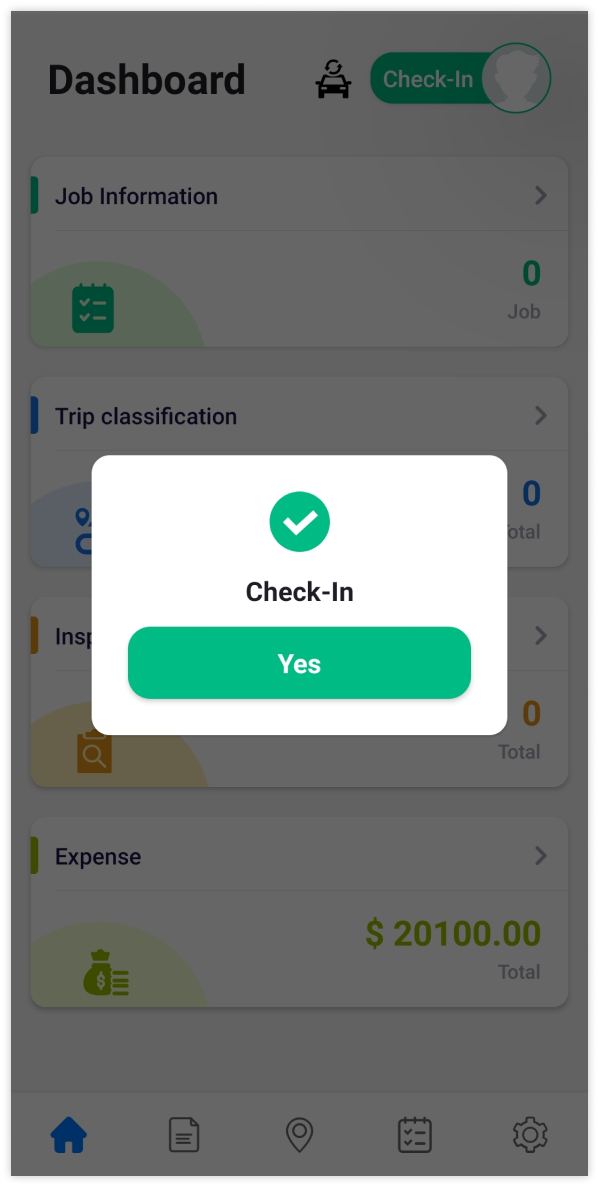
- For checking in, you will have to click on Yes and Scan OR Code.

To Inspect a Vehicle:
- Click on Inspect icon.
- Select the Vehicle Number and Inspection Type from the list mentioned in the field.
- Add Odometer Value.
- Select the Check Point from the list mentioned in the field.
- Select the Remarks from the list provided below.
- Click on Save.

To Add Expense:
- Click on Expense icon.
- Select the Category from the options mentioned.
- Select Expense Type from the list mentioned in the field.
- Select From Date from the calendar in the field.
- Select To Date from the calendar in the field.
- Add the Amount.
- Add the Reference Number.
- If you wish to upload the bill of the expense made, click on the field and select the mode via which you will upload it.
- Add the Description.
- Click on Save.

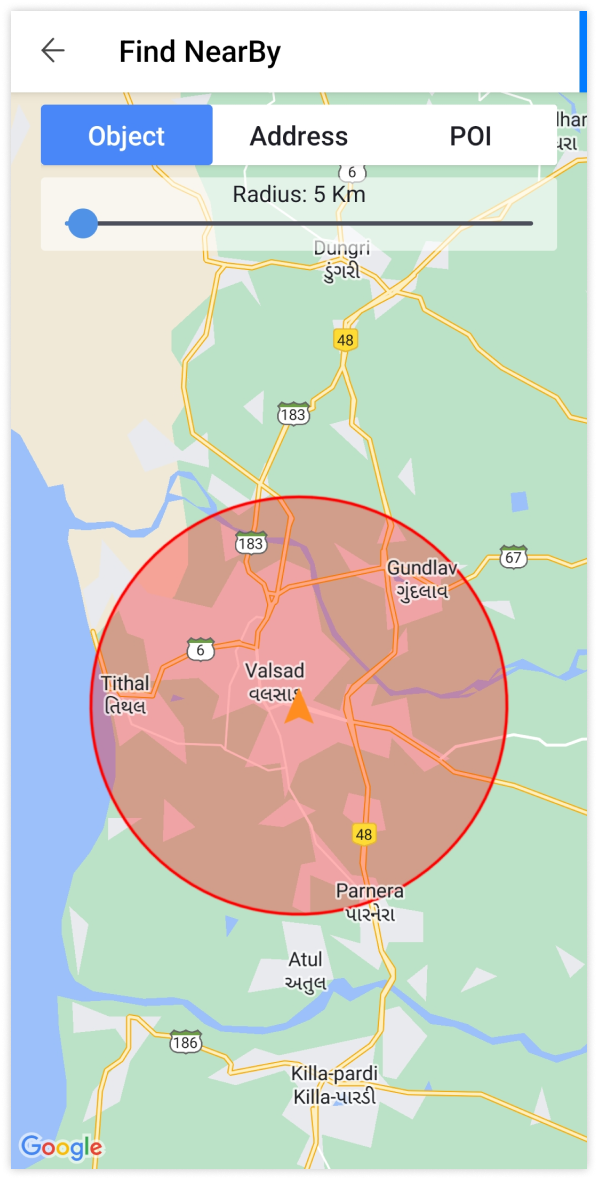
To Find NearBy:
- Click on Find NearBy icon.
- Click on Object, if you need to find the objects in the nearby area and provide the required radius using the slider.
- Click on Address, if you need to find the objects in the nearby area and provide the required radius using the slider.
- Click on POI, if you need to find the objects in the nearby area and provide the required radius using the slider.
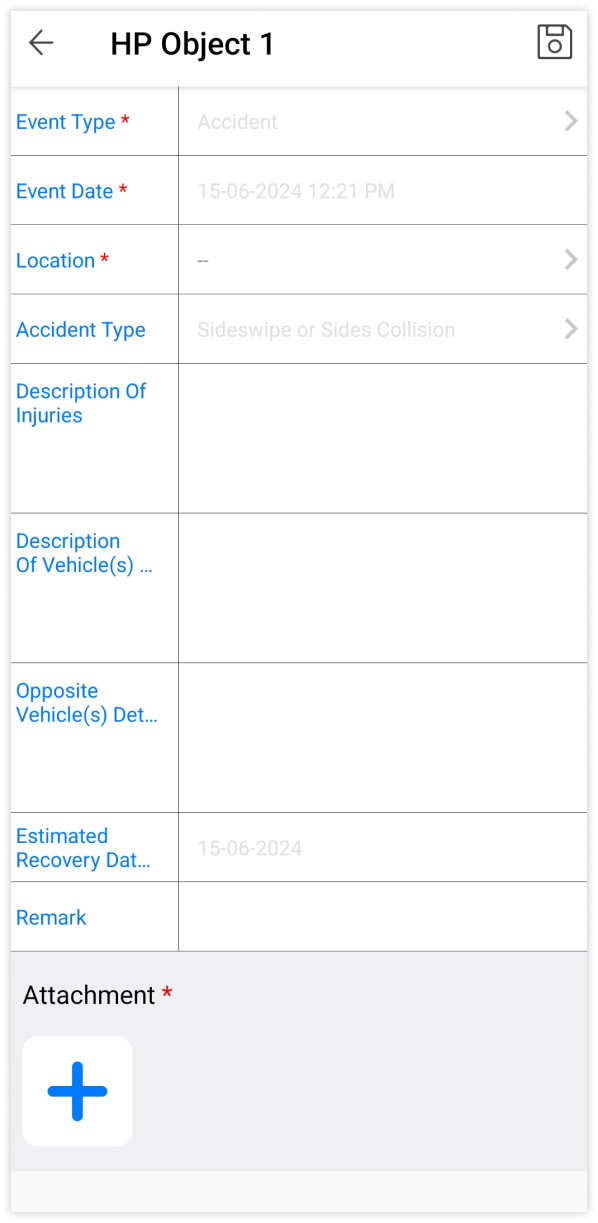
To Add Accident Details:
- Click on Accident Details icon.
- Select the Event Type from the options mentioned.
- Select Event Date from the list mentioned in the field.
- Select Location from the map in the field.
- Select Accident Type from the options mentioned.
- Add the Description Of Vehicle(s).
- Add the Opposite Vehicle(s) Details.
- Select Estimated Recovery Date from the calendar in the field.
- Add the Attachment.
- Click on Save.