
Geofence can be conveniently added from the mobile application. To add geofence, consider the following steps.
To Get Started
- Log in to the mobile application using your credentials.
- Go to Settings
 screen.
 - Click on Geofence.
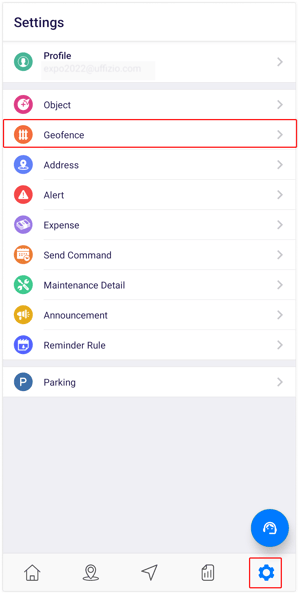
Upon clicking on Geofence, you will be directed to the Geofence Overview page, where you can view and manage all the geofence records.
To Add Geofence
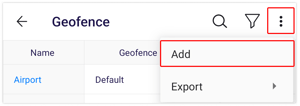
- Click on the
 icon on the top right corner of the screen.
 - Click on Add.
- Select the Reseller and Company from the list.
- Provide the Name of the geofence.
.png?width=303&height=649&name=Frame%20658%20(14).png)
-
Select the appropriate Geofence Access option to define the visibility and accessibility of geofences for users:
- Public: Choose this option if the geofence should be visible to all users.
- Private: Choose this option to ensure the geofence is visible only to the user who created it.
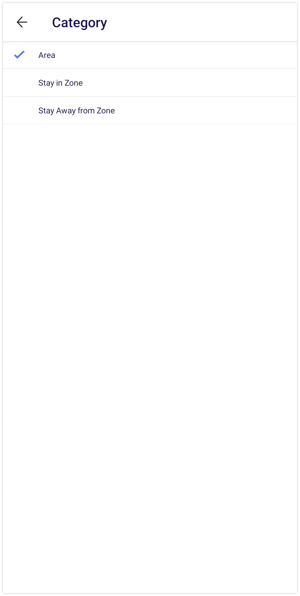
- Select the Category of the geofence from the list.
- Select the Geofence Group from the to categorize the geofence based on its type or specific use case. If no suitable group exists, you can create a new one.
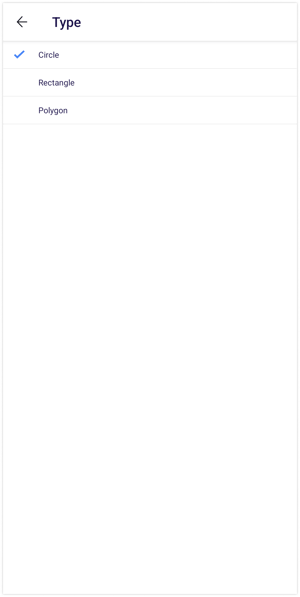
- Select the shape of the geofence you wish to create by choosing from the options: Circle, Rectangle, or Polygon.
- Choose the appropriate Geofence Type from the list, or if the desired type is not available, you have the option to create a new one.
- Choose the Tolerance from the list, as this setting will assist in defining a radius. This will ensure accurate tracking of geofence entries and exits.
- To select the desired Geofence location, either click on the icon on the map or tap directly on the map to designate the geofence area.
- To customize the appearance of your geofence, select the Color Picker on the map and choose your preferred color.
- Click on the Save 💾 icon once the geofence is created.