Add Expenses from the Mobile Application
Expenses can also be added from the mobile application. To add expenses, consider the following steps.
To Get Started
- Login to the Mobile Application using your login credentials.
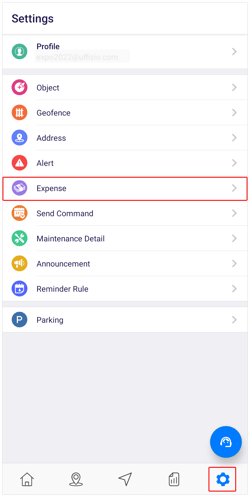
- Go to Settings
 screen.
 - Click on Expense.

After selecting Expense, you will be directed to the Expense overview screen, where you can view and manage all existing expenses.
To Upload Expenses
- Click on the
 icon on the top right corner of the screen.
 - Click on Add.

- Choose the Company and Branch from the provided list under which you wish to add expenses.
- Choose the Object for which you want to add expense.
- Please select the appropriate Category for the expense, choosing between Fixed or Variable.
.png?width=350&height=749&name=Frame%20639%20(1).png)
- Consider Job: If you would like to associate this expense with a specific job, please check the corresponding box and provide the necessary details. This option will only be available for expenses categorized as Variable.
- Job Allocation: Select the appropriate option based on your requirement to choose the job that is in progress or completed.
- Completed Till: If you select the completed option in Job Allocation, please specify the date and time when the job was completed.
- Job: Choose the appropriate job from the provided list.
- Choose the appropriate Type of expense from the drop-down menu.
- Expense Date: Please specify the date of the expense.
- Enter the Amount of the expense.
- Provide the Reference Number for this expense.
- Please provide the Odometer reading.
- Please provide the Engine Hour in the format of HH:mm.
- Bill Upload: You can upload the associated bill for the expense using this feature.
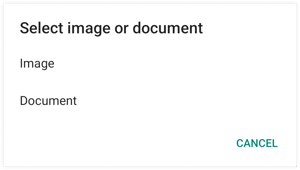
- Select Image or Document and upload the bill.

- Select Image or Document and upload the bill.
- You have the option to include a detailed Description for the expense to enhance clarity and context.
- Click on the Save 💾 icon.
