Company
The Company module is a central section of the startup application where all organizational-level data and configurations are managed. It allows resellers or administrators to create and manage company accounts that operate under their hierarchy. Each company represents a client or business entity using the platform to manage its operations, vehicles, drivers, branches, and related services.
To get started
- Log in to your admin account.
- Go to Configuration→Company Entity.
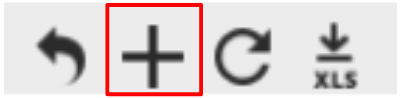
- Click on the ➕ icon on the taskbar below.
To Create the Company
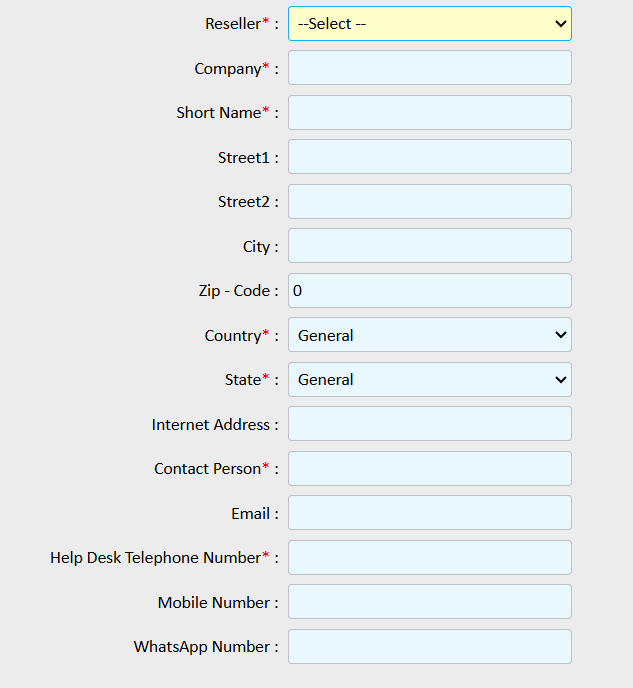
- You are on Company Detail screen.
- Select Reseller:
- From the dropdown list, choose the reseller under whom this company will be created.
- Enter Company Name:
- Provide the full legal or business name of the company.
- Enter Short Name:
- Add a short or unique identifier for the company.
- Enter Address Details:
- Street 1 & Street 2: Fill in the company’s address lines.
- City: Mention the city where the company is located.
- Zip Code: Provide the area’s postal code.
- Select Country and State:
- Choose the relevant country and state from the dropdown menus.
- Enter Internet Address:
- Provide the company’s official website URL or domain (if available).
- Enter Contact Person Details:
- Contact Person: Mention the name of the primary contact person for the company.
- Email: Enter their official email ID.
- Help Desk Telephone Number: Add the main support or office contact number (mandatory).
- Mobile Number: Add the mobile number of the contact person.
- WhatsApp Number: (Optional) Provide a WhatsApp contact for communication or support.
- Enter Fax Number:
- If applicable, provide the company’s fax number for official communication.
- Override POI on Location:
- Check this option if you want the system to override the Point of Interest (POI) details based on the company’s specific location settings.
- Select Alert:
- Choose the type of alerts that should be applicable for this company from the list provided.
- Alerts help notify the company of important vehicle or operational events.
- Set Storage Days:
- Select the number of days the system should store data (like trip details, tracking logs, etc.) for this company.
- Show Support Detail:
- Check this box if you want to display support or helpdesk contact details for the company’s users in their application interface.
- Driver Consideration Based On:
- Choose the method to identify and link drivers to vehicles or trips:
- RFID / Beacon: Select this option if drivers are identified through RFID tags or Beacon devices.
- Step In with RFID / Beacon – Step Out with Ignition: Select this option if you want the system to automatically consider driver entry and exit based on RFID/Beacon scan and ignition status.

To upload company Logo
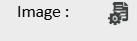
- Locate the “Image” or “Logo Upload” Section
- Find the Image field (with a small file or settings icon beside it) on the company creation or edit page.
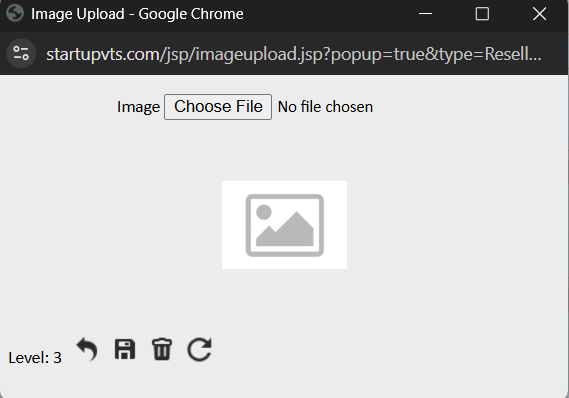
- Click on “Choose File”
- A file selection window will open.
- Browse your system and select the logo image you want to upload.
- Supported formats: .jpg, .jpeg, .png (Recommended size: under 1 MB).
- Preview the Image
- Once the file is selected, a preview of the logo will appear in the center of the upload box.
- Verify that the logo is clear and properly visible.
- Save the Image
- Click on the Save icon (💾) at the bottom of the window to confirm the upload.
- The uploaded logo will be stored and linked to the company’s profile.
- Optional Actions:
- Undo (↩️) – Revert the last action or restore the previous image.
- Delete (🗑️) – Remove the current image if uploaded by mistake.
- Refresh (🔄) – Reload the upload window or reset the selection process.
- Confirm Upload
- Once saved, close the popup window.
- The selected logo will now appear on the main company creation/edit screen under the “Image” field.
Map configuration under Company
- Click on the “+” (Add) icon
- This will allow you to add a new map configuration entry for the company.
- A new row or popup will appear to enter the map details.
- Map*
- Select the map type you wish to configure (e.g., Google Map, OpenStreetMap, Here Map, MapMyIndia, etc.).
- This defines the base map that will be used for tracking and visualization.
- Web Map Key*
- Enter the API key generated from your map provider for web platform usage.
- This key enables map functionality on the company’s web portal.
- Example: a Google Maps API key or Here Maps key.
- Mobile Map Key
- Enter the API key for the mobile application (Android/iOS).
- Ensures proper map loading and navigation on the company’s mobile app.
- Map Project ID
- If your map provider (like Google Cloud) requires a Project ID, enter it here.
- This helps track and manage API usage under the correct project.
- Address From Map Provider
- Select or enable this option if you want to fetch address details (reverse geocoding) directly from the selected map provider.
- This ensures accuracy in displaying live vehicle or job locations.
- Speed Limit API
- Enter or enable the Speed Limit API key (if supported by your map provider).
- This allows the system to display and monitor speed limit data along routes.
- Default
- Check this option if you want this map setup to be the default map configuration for the company.
- This means all dashboards and tracking views will use this map by default.
![]()
Click on the Save 💾 button