
The Live Tracking in driver application consists of options to inspect the vehicle, add expense, navigate, Find Nearby vehicles, and add accident details. These can be used by the driver from the application by following the steps mentioned below.
To get started
- Login to your driver application.
- Click on Map.

The Live Tracking Screenfor the assigned vehicle will Open: 
- Switch Maps: Tap on the Map
 icon to switch between different maps.
- Select the desired map from the available options.
- You can also enable the Traffic Layer to view real-time traffic data on the map.
- Tapping on the
 icon will display the route from your current location to the vehicle’s location.
 - Tapping on the
 icon will open the Find Nearby screen.
 - Tapping on the
 icon will open Mode Screen.
 - Tapping on the
 icon will open the Activity Buttons.

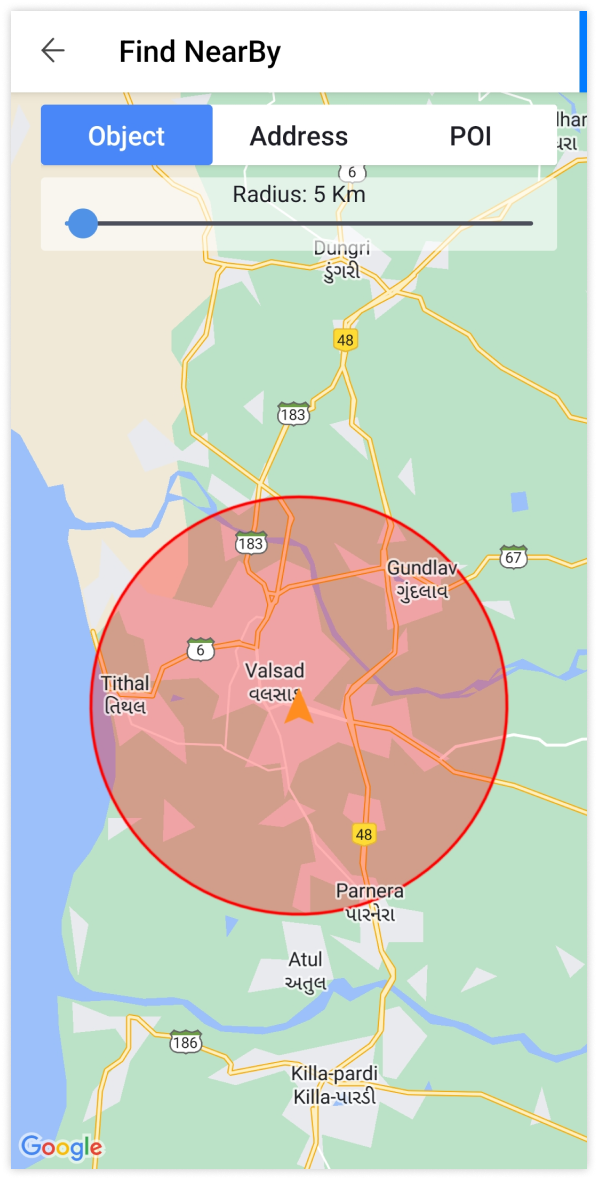
Find NearBy:
- Click on Find NearBy icon.
- Click on Object, if you need to find the objects in the nearby area and provide the required radius using the slider.
- Click on Address, if you need to find the objects in the nearby area and provide the required radius using the slider.
- Click on POI, if you need to find the objects in the nearby area and provide the required radius using the slider.
Mode of Vehicle:
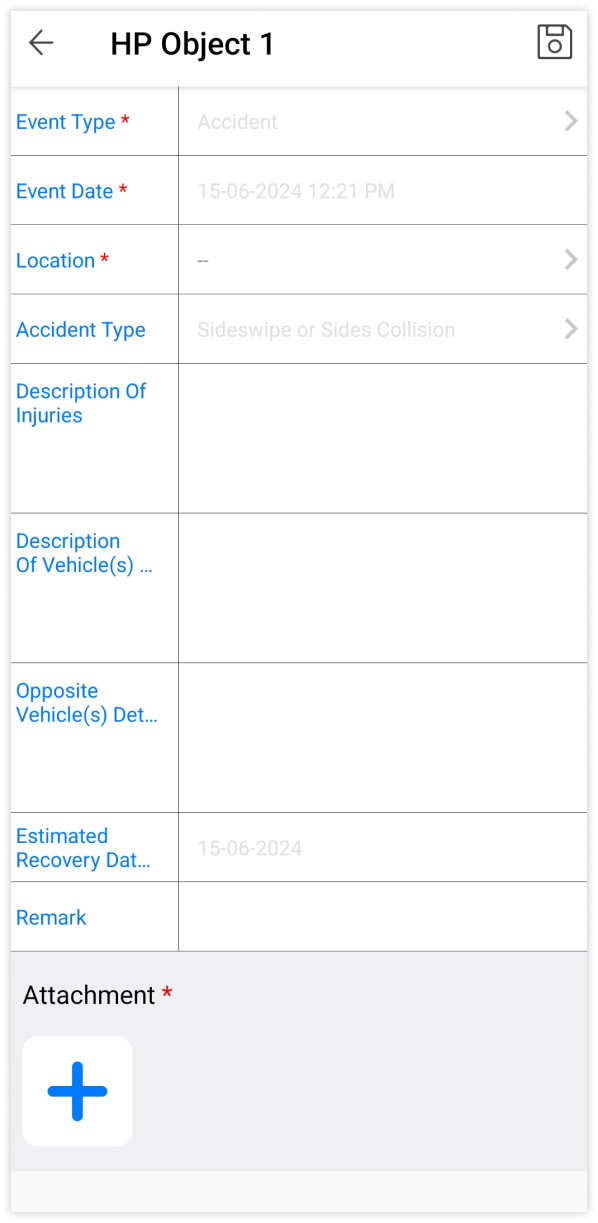
Accident Mode:
- Select the Accident option from Event Type.
- Select Event Date from the list mentioned in the field.
- Select Location from the map in the field.
- Select Accident Type from the options mentioned.
- Add the Description Of Vehicle(s).
- Add the Opposite Vehicle(s) Details.
- Select Estimated Recovery Date from the calendar in the field.
- Add the Attachment.
- Click on Save icon on the top right corner.
Once the Vehicle is set to Accident mode user can click on the Mode icon again to Recover the vehicle from Accident mode.
To Remove the Vehicle from Accident Mode:
- Tapping on the icon will open Mode Screen.
- The Following screen will appear.

- Tap on Save & Add Expense.
- The Expense screen will Open add the expense details and the Vehicle will be removed from accident mode.
- This Details will be saved in Maintenance History Report.
Breakdown Mode:
- Select the Breakdown option from Event Type.

- Select Event Date from the list mentioned in the field.
- Select Location from the map in the field.
- Select Breakdown Type from the options mentioned.
- Add the Description.
- Select Estimated Recovery Date from the calendar in the field.
- Add the Attachment.
- Click on Save icon on the top right corner.
Once the Vehicle is set to Breakdown mode user can click on the Mode icon again to Recover the vehicle from Breakdown mode.
To Remove the Vehicle from Breakdown Mode:
- Tapping on the icon will open Mode Screen.
- The Following screen will appear.
- Tap on Save & Add Expense.
- The Expense screen will Open add the expense details and the Vehicle will be removed from Breakdown mode.
- This Details will be saved in Maintenance History Report.
In Repair Mode:
- Select the In Repair option from Event Type.

- Select Event Date from the list mentioned in the field.
- Select Estimated Recovery Date from the calendar in the field.
- Click on Save icon on the top right corner.
Once the Vehicle is set to In Repair mode user can click on the Mode icon again to Recover the vehicle from In Repair mode.
To Remove the Vehicle from In Repair Mode:
- Tapping on the icon will open Mode Screen.
- The Following screen will appear.
- Tap on Save & Add Expense.
- The Expense screen will Open add the expense details and the Vehicle will be removed from In Repair mode.
- This Details will be saved in Maintenance History Report.
Occupied Mode:
- Select the Occupied option from Event Type.

- Select Event Date from the list mentioned in the field.
- Select Estimated Recovery Date from the calendar in the field.
- Click on Save icon on the top right corner.
Once the Vehicle is set to Occupied mode user can click on the Mode icon again to Remove the vehicle from Occupied mode.
To Remove the Vehicle from In Occupied Mode:
- Tapping on the icon will open Mode Screen.
- The Following screen will appear.
- Tap on Save & Add Expense.
- The Expense screen will Open add the expense details and the Vehicle will be removed from Occupied mode.
- This Details will be saved in Maintenance History Report.